Free Image to PDF Converter: How to Make a PDF Under 100KB
Free Image to PDF Converter
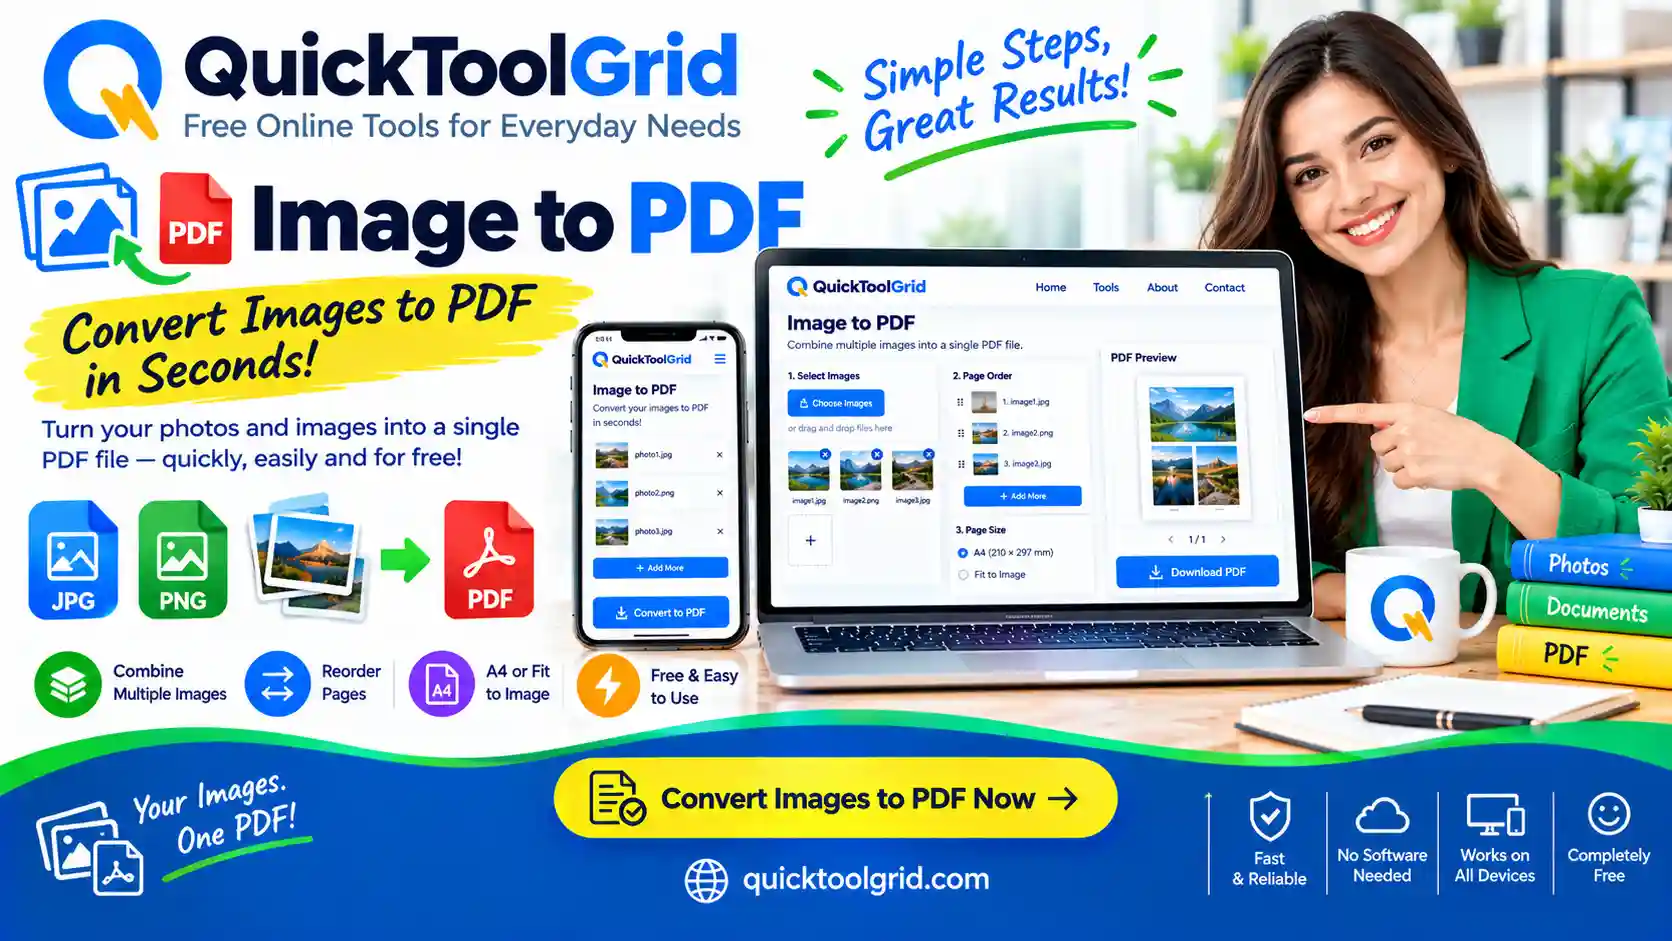
Turn JPG, PNG and WebP images into one PDF. Reorder, rotate, pick a page size and compress to a target size such as 100 KB, all in your browser. Nothing is uploaded.
Start Generating Read the GuideImage to PDF Converter
Your images stay on your device. Nothing is uploaded to our server by this tool.
No images yet.
How It Works
- Add images. Drop or choose JPG, PNG or WebP files.
- Arrange them. Drag to reorder, rotate or remove pages.
- Choose options. Page size, margins and an optional size limit.
- Create and download. Your PDF is built in your browser.
How to Convert Images to PDF Online: Free, Private and Under 100 KB
By the Quick Tools Grid team · Updated October 2026
You have a stack of photos or scans: an ID card copy, a degree certificate, a few receipts, maybe pages from a notebook. The form you are filling in accepts only one PDF, and it has a size limit. This is one of the most common small tasks on the internet, and it should not take more than a minute.
This guide shows how to turn images into a single PDF with the free Image to PDF Converter from Quick Tools Grid. It covers JPG to PDF, PNG to PDF and WebP to PDF, explains the page size and quality settings, and gives practical tips for keeping a file under limits such as 100 KB or 200 KB. It also explains what happens to your files, because privacy matters when the images are personal documents.
Why People Convert Images to PDF
A PDF keeps pages in a fixed order and looks the same on every device. Images do not. If you send five separate photos, they can arrive out of order, open in different viewers and be cropped by someone’s phone. One PDF solves all of that.
Common reasons to combine images into a PDF include:
- Job and scholarship applications. Many portals ask for a CV, certificates and an ID copy as PDF files.
- University admissions and visa forms. Mark sheets, passport pages and bank statements are often requested as one document.
- Business paperwork. Invoices, delivery receipts and signed agreements are easier to store and email as PDFs.
- School and study notes. Photos of handwritten pages become one file you can share with a classmate or teacher.
- Portfolios. Designers and photographers sometimes send a short PDF of their best work instead of a folder of pictures.
The limits vary. Some portals accept a few megabytes, others only a few hundred kilobytes. That is why a good converter should do two things: put the images in the right order and control the file size.
What You Need Before You Start
Gather your images in one place. The converter reads JPG, PNG, WebP, GIF and BMP files. Photos taken on an iPhone are sometimes saved as HEIC, which most browsers cannot read, so convert those to JPG first (the troubleshooting section below shows how).
Decide the order of your pages before you add them. It is easier to name files 01, 02, 03 than to fix the order later, although the tool lets you move pages up, down or by dragging.
Finally, check the rules of the place where you will submit the PDF. Note the maximum size, whether it must be one file or several, and whether it asks for a specific page size.
How to Convert Images to PDF in Five Steps
- Open the converter at the top of this page. It runs in your browser, so there is nothing to install and no account to create.
- Add your images. Drag them into the box, click to choose files, or paste a copied picture with Ctrl+V. You can add up to 100 images.
- Arrange the pages. Use the arrow buttons or drag a row to change its position. Press the rotate button for any picture that is sideways, and the cross to remove one.
- Choose your options. Pick the page size, orientation, margin and output size (explained below), and type a file name.
- Create and download. Press Create PDF. When the file is ready, you see the number of pages and the final size. Download it or open it in a new tab to check every page.
Always open the result and scroll through it before you submit it. A thirty-second check can save you a rejected application.
Choosing Page Size, Orientation and Margin
These settings decide how your pictures sit on the page.
Page size. A4 is the standard in Pakistan, India, Europe and most of the world. Letter is common in the United States and Canada. A3 and A5 are available for larger or smaller documents. “Same as image” makes each page exactly as large as its picture, which suits screenshots and designs that should not be resized.
Orientation. The default, Auto, gives wide pictures a landscape page and tall pictures a portrait page. Choose Portrait or Landscape if every page must match, for example when a portal rejects mixed layouts.
Margin. Choose No margin if a scan already has a white border or the picture should fill the page. A small margin is a safe default for photos. A normal margin leaves space for printing and punching holes.
On fixed page sizes, pictures are scaled to fit inside the page without being stretched, and they are centered. Transparent PNG files are placed on a white background, so logos and signatures do not turn black.
How to Make a PDF Under 100 KB
Many forms set a limit of 100 KB, 200 KB or 500 KB. The Output size menu has ready-made options for these, plus a custom size in kilobytes.
Here is what happens. A PDF made from images is mostly image data, and image data shrinks in two ways: lower quality and fewer pixels. When you pick “Under 100 KB”, the tool builds the PDF, checks its size and, if it is too big, reduces both step by step until the file fits. If the limit cannot be reached, it tells you the smallest result it managed, so you can decide what to do.
A few tips help you stay under a limit without losing readability:
- Crop first. Remove table edges, shadows and empty borders. Fewer pixels means a smaller file.
- Scan at a sensible resolution. For text documents, 150 to 200 DPI is usually enough on screen. A 600 DPI scan is wasted effort for most online forms.
- Use fewer, better pictures. One clear photo per page is better than three blurry ones.
- Split if allowed. If a portal permits several files, two PDFs of 100 KB each may look better than one squeezed file.
- Raise the limit a little. If small text looks soft at 100 KB, try 200 KB. The difference in readability can be large.
Be realistic. A detailed colour photo on an A4 page cannot stay sharp at 50 KB. Plain black-and-white documents compress much better than photographs.
Tips for Clean Scans and Photos
The quality of your PDF depends on the quality of the pictures you start with.
- Use daylight or an even lamp. Avoid casting your own shadow across the page.
- Hold the phone parallel to the paper. Taking a picture from an angle makes the page look like a trapezoid.
- Put the paper on a dark, plain surface. Edges are easier to see and crop.
- Turn off the flash. It causes glare on glossy paper and laminated cards.
- Fill the frame. Get close enough that the document takes most of the picture, then crop.
- Name files in order. 01-front.jpg and 02-back.jpg are quicker to arrange than IMG_4021.jpg.
If your phone has a document scanning mode, it often straightens and cleans pages automatically. Save the result as JPG or PNG and bring it here to combine into one PDF.
Is It Safe to Convert Personal Documents Online?
It is a fair question. Many online converters upload your files to a server, which means someone else’s computer holds a copy of your ID card for some time.
The Quick Tools Grid converter works differently. It builds the PDF inside your browser, using your own device, and this tool does not upload your images to our server. Your pictures stay on your computer or phone.
Some sensible habits still apply to any tool: avoid public or shared computers for sensitive documents, close the page when you finish, and delete downloaded files you no longer need. If a document is extremely sensitive, such as a signed legal agreement, consider an offline tool as well.
Common Problems and Easy Fixes
“Could not read” message for iPhone photos. iPhones may save pictures as HEIC, which most browsers cannot open. On an iPhone, open Settings, then Camera, then Formats, and choose Most Compatible for future photos. For existing pictures, export them as JPG before adding them.
A page is sideways. Press the rotate button on that picture until it faces up. Each press turns it 90 degrees.
The PDF is larger than the portal allows. Choose a smaller Output size, crop the pictures first, or reduce the number of pages.
Text looks blurry. Use a higher size limit or the High quality setting, and re-take the photo in better light.
A very large picture fails to load. Very large images can use a lot of memory. The converter first tries a gentler way to read them and reduces them if it must. On a phone, add fewer images at a time.
The portal still rejects the file. Check the file name for special characters, the allowed size, and whether the portal accepts only a certain number of pages.
Image to PDF Converter vs Other Options
You have several ways to make a PDF from pictures.
- A phone scanner app is excellent for capturing pages and cleaning them up. Many can export a PDF, though size control varies.
- Word, Google Docs or a presentation tool works if you already use them, but the steps are longer and the file size is hard to control.
- Desktop PDF software gives the most options, usually with an installation and sometimes a fee.
- An online converter in your browser is the fastest way to combine images, reorder them and meet a size limit with no installation.
For quick, one-time jobs such as an application form, the browser option usually wins. For daily professional document work, dedicated software may suit you better.
Final Thoughts
Turning images into a PDF should be simple, fast and private. Add your pictures, put them in order, choose a page size and a size limit, then download and check the result. If a form demands a file under 100 KB, remember that cropping and sensible scan settings do more than any compression setting can.
Ready to try it? Scroll back up to the converter, add your files and have a finished PDF in under a minute. Need to shrink the pictures themselves first? The Image Compressor on Quick Tools Grid can reduce them to a target size before you combine them.
Frequently Asked Questions
Is it free?
Yes. It is free, needs no account, and runs in your browser.
Are my images uploaded anywhere?
No. Everything happens in your browser, so your images never leave your device.
Which image types are supported?
JPG, PNG, WebP, GIF and BMP. Phone photos in HEIC format must be converted to JPG first, because most browsers cannot read HEIC.
Can I make the PDF smaller?
Yes. Pick Small file or a size limit such as Under 200 KB. The tool re-compresses the images to fit.
Is there a limit on pages?
You can add up to 100 images. Very large photos use more memory, so on a phone add fewer at a time.
Disclaimer
This tool creates PDF files from your images. Always check the result before you submit it to an office or website.
For Information: Click Here